|
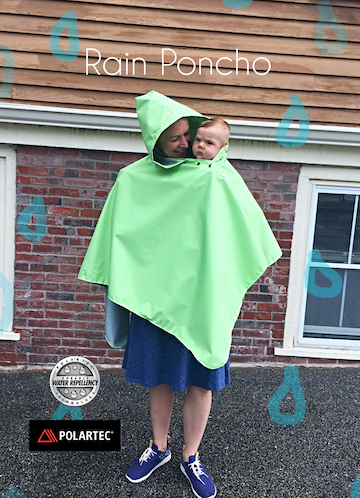
Rain Poncho A Polartec NeoShell Rain Poncho to keep you stylish on all rainy days!
Rain Poncho Skill Level: Estimated Project Time: 1 hour Background: Our first project for Summer of 2020 is a practical necessity! Kirsten made this rain poncho, Pattern: 90 Minute Rain Poncho Pattern by Mary Mulari The fabric yardage was accurate. We found that the length of the poncho is adjustable Website: http://www.nancyzieman.com/blog/sewing-2/sew-an-easy-hooded-poncho/# PDF: http://www.nancyzieman.com/blog/sewing-2/sew-an-easy-hooded-poncho/?print=pdf Neck cut pattern:
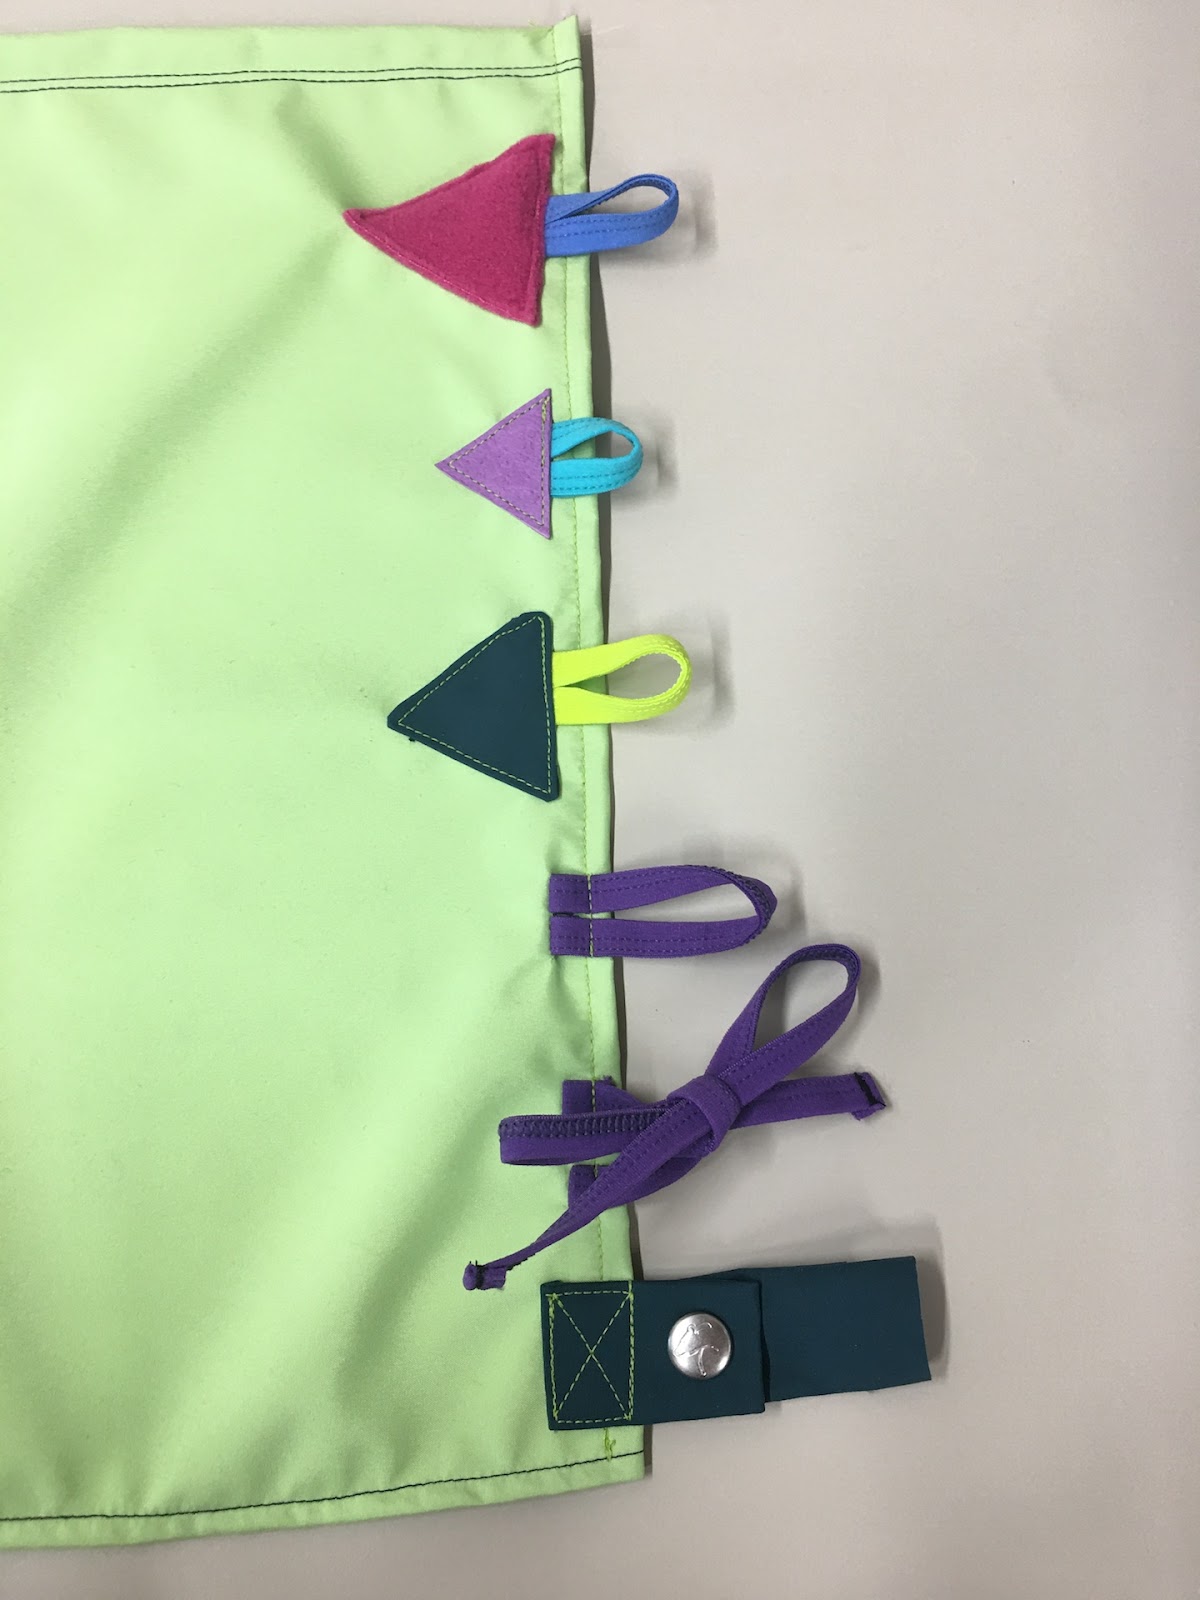
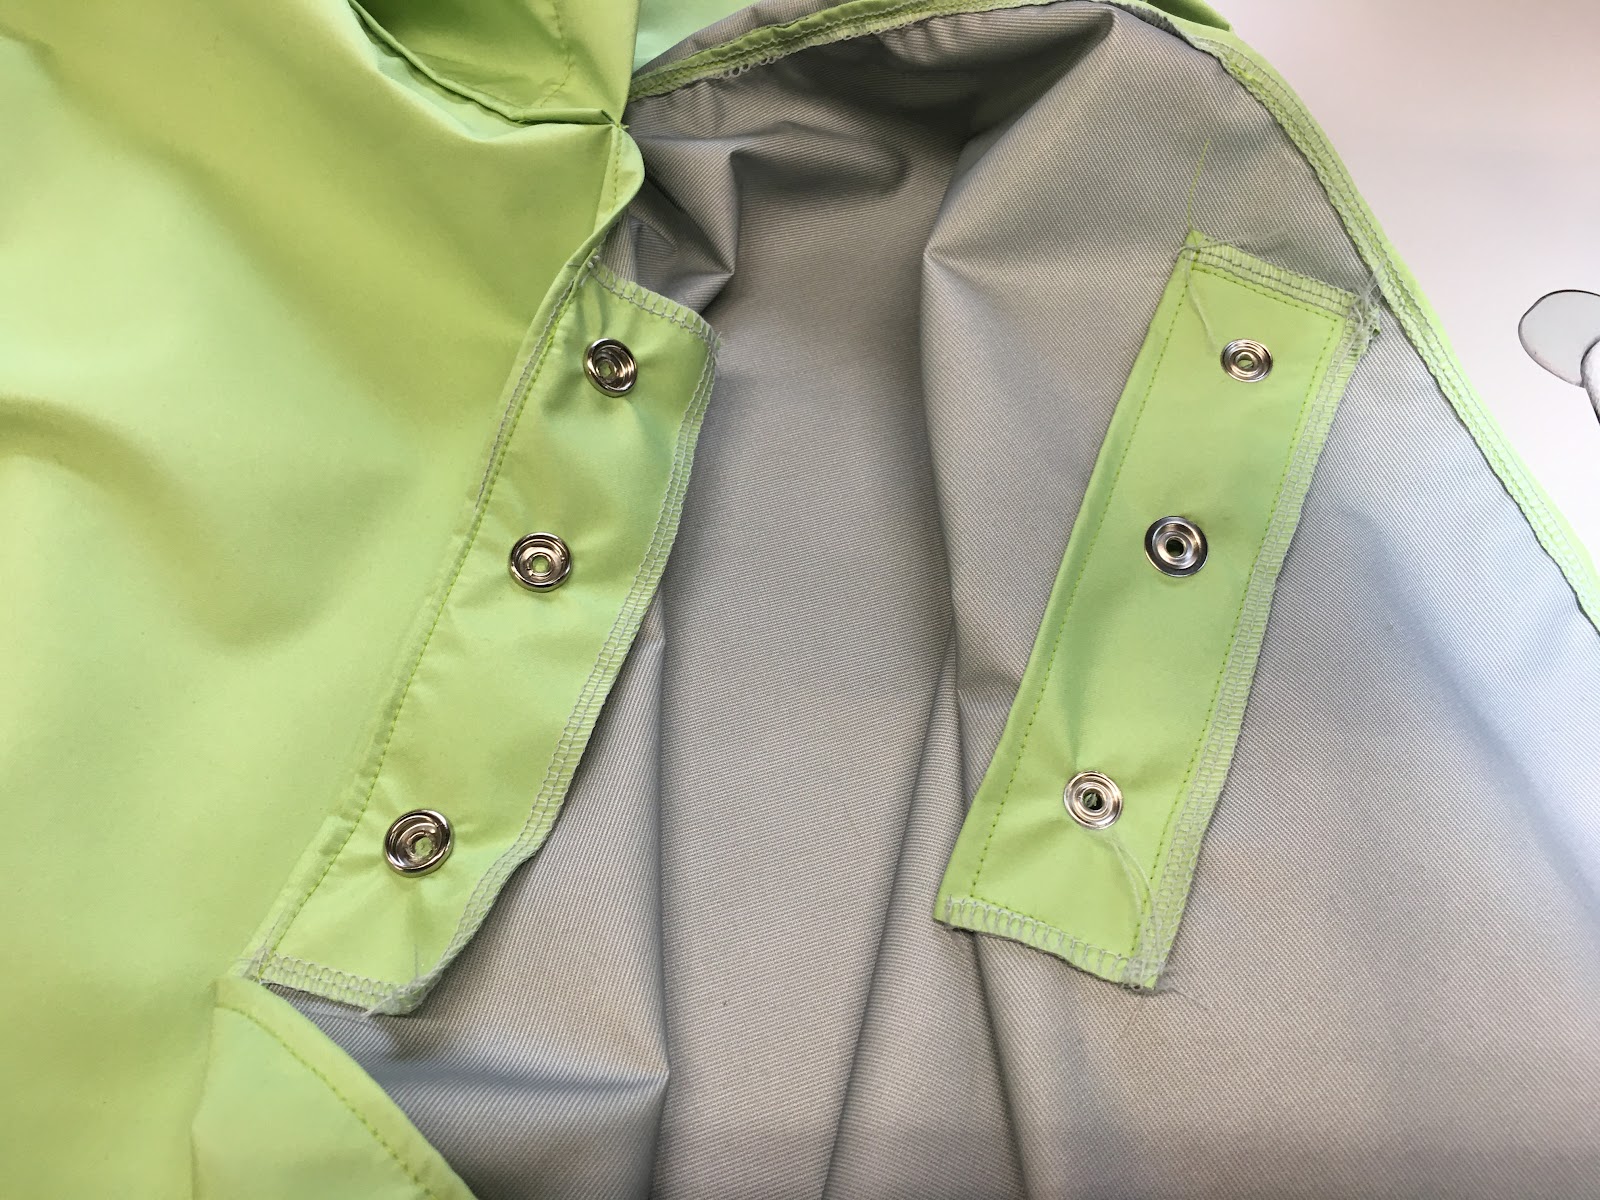
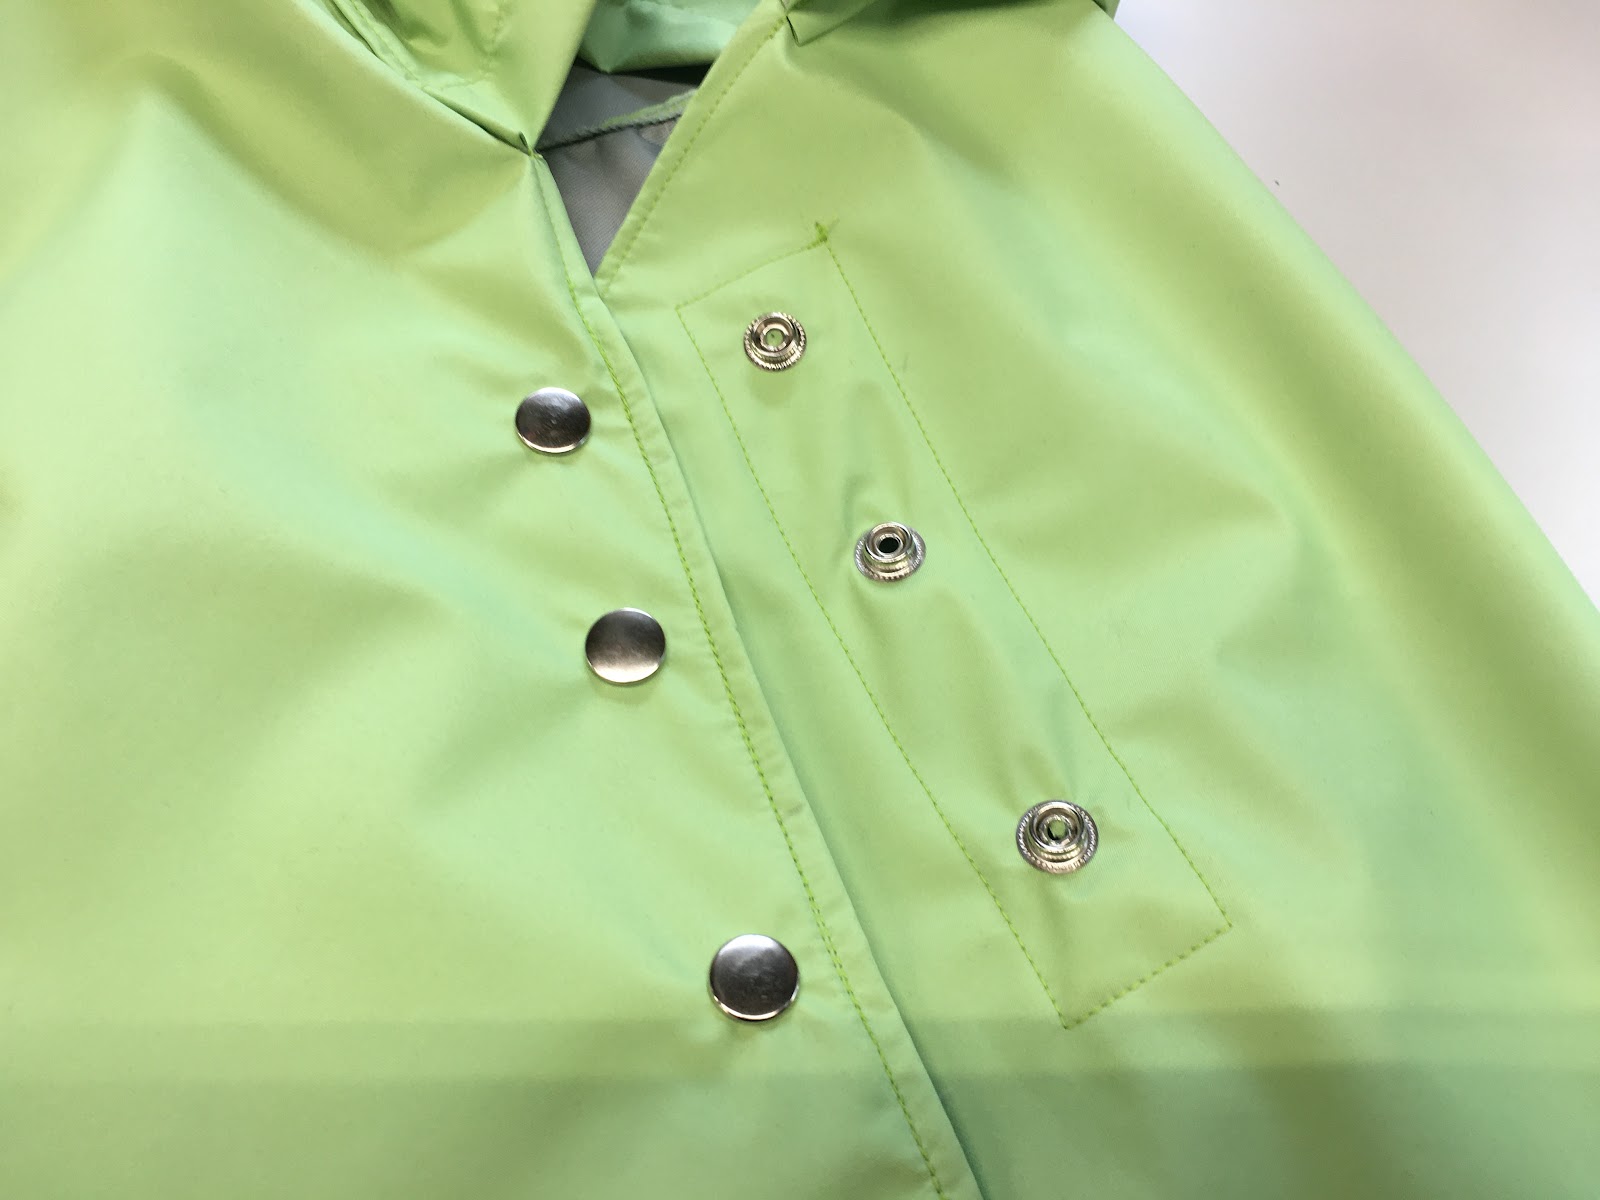
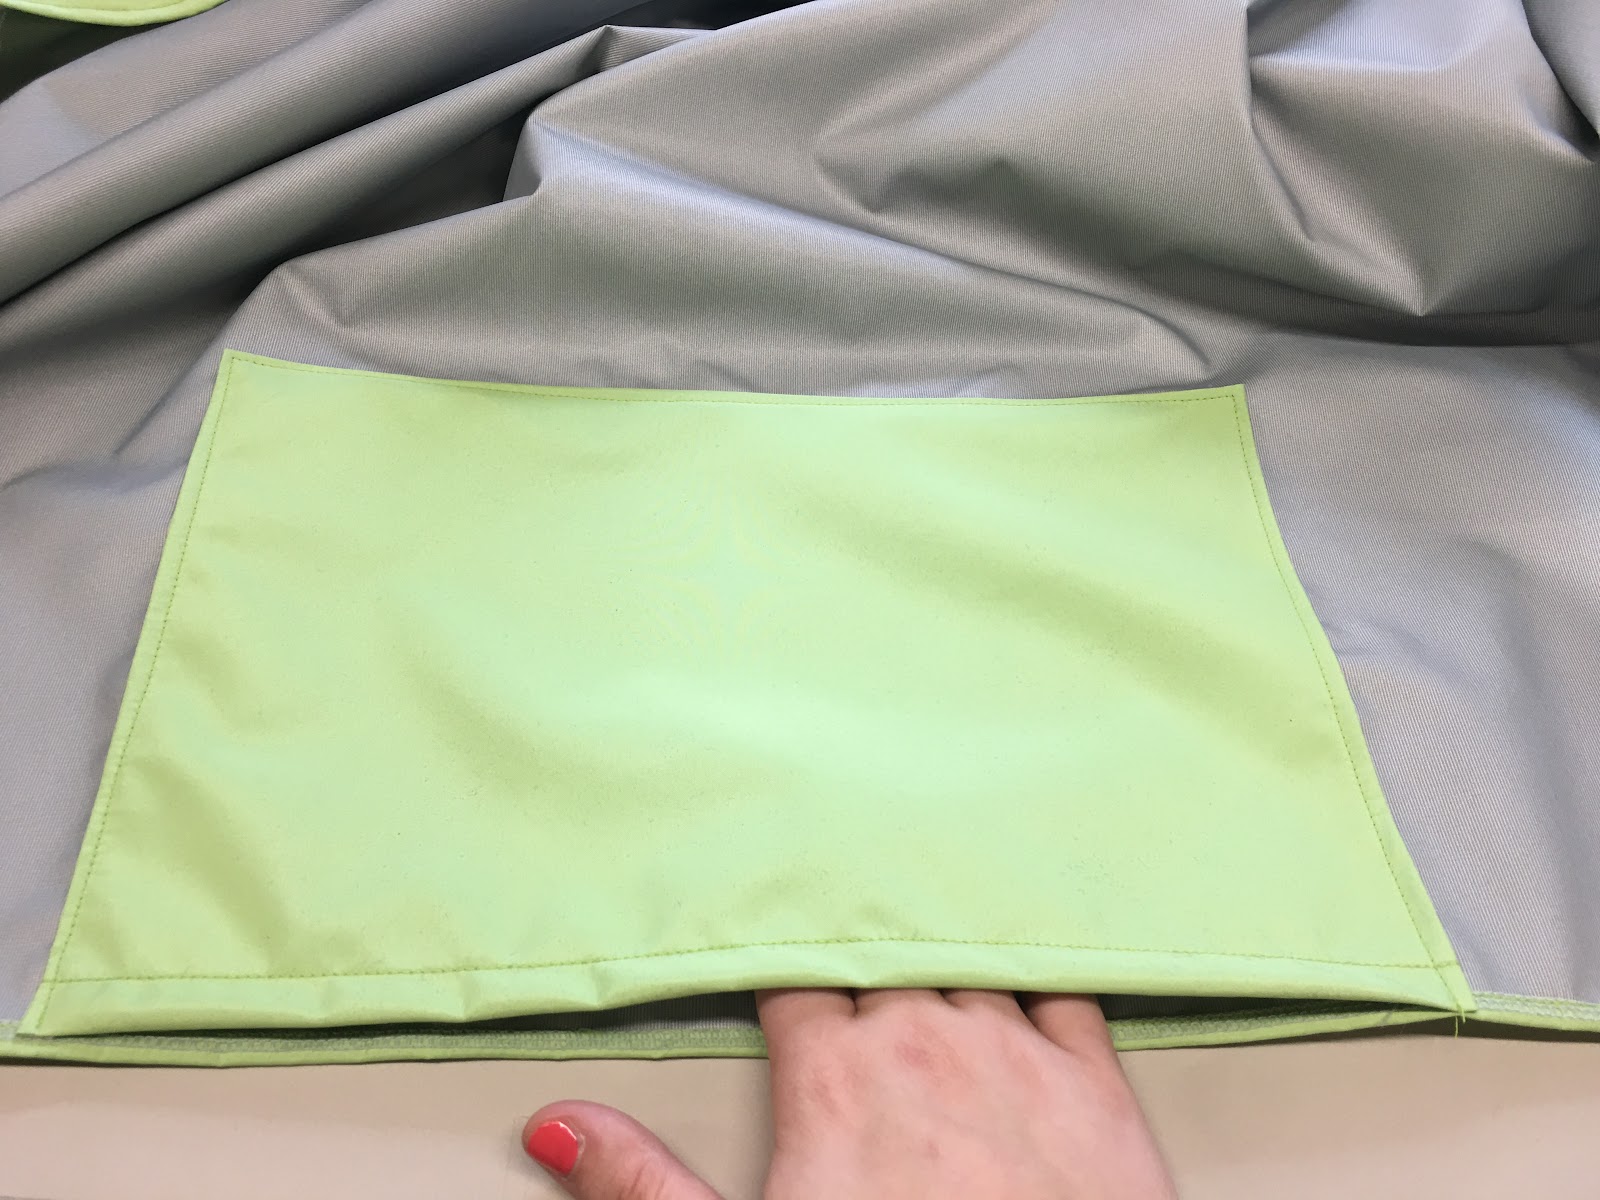
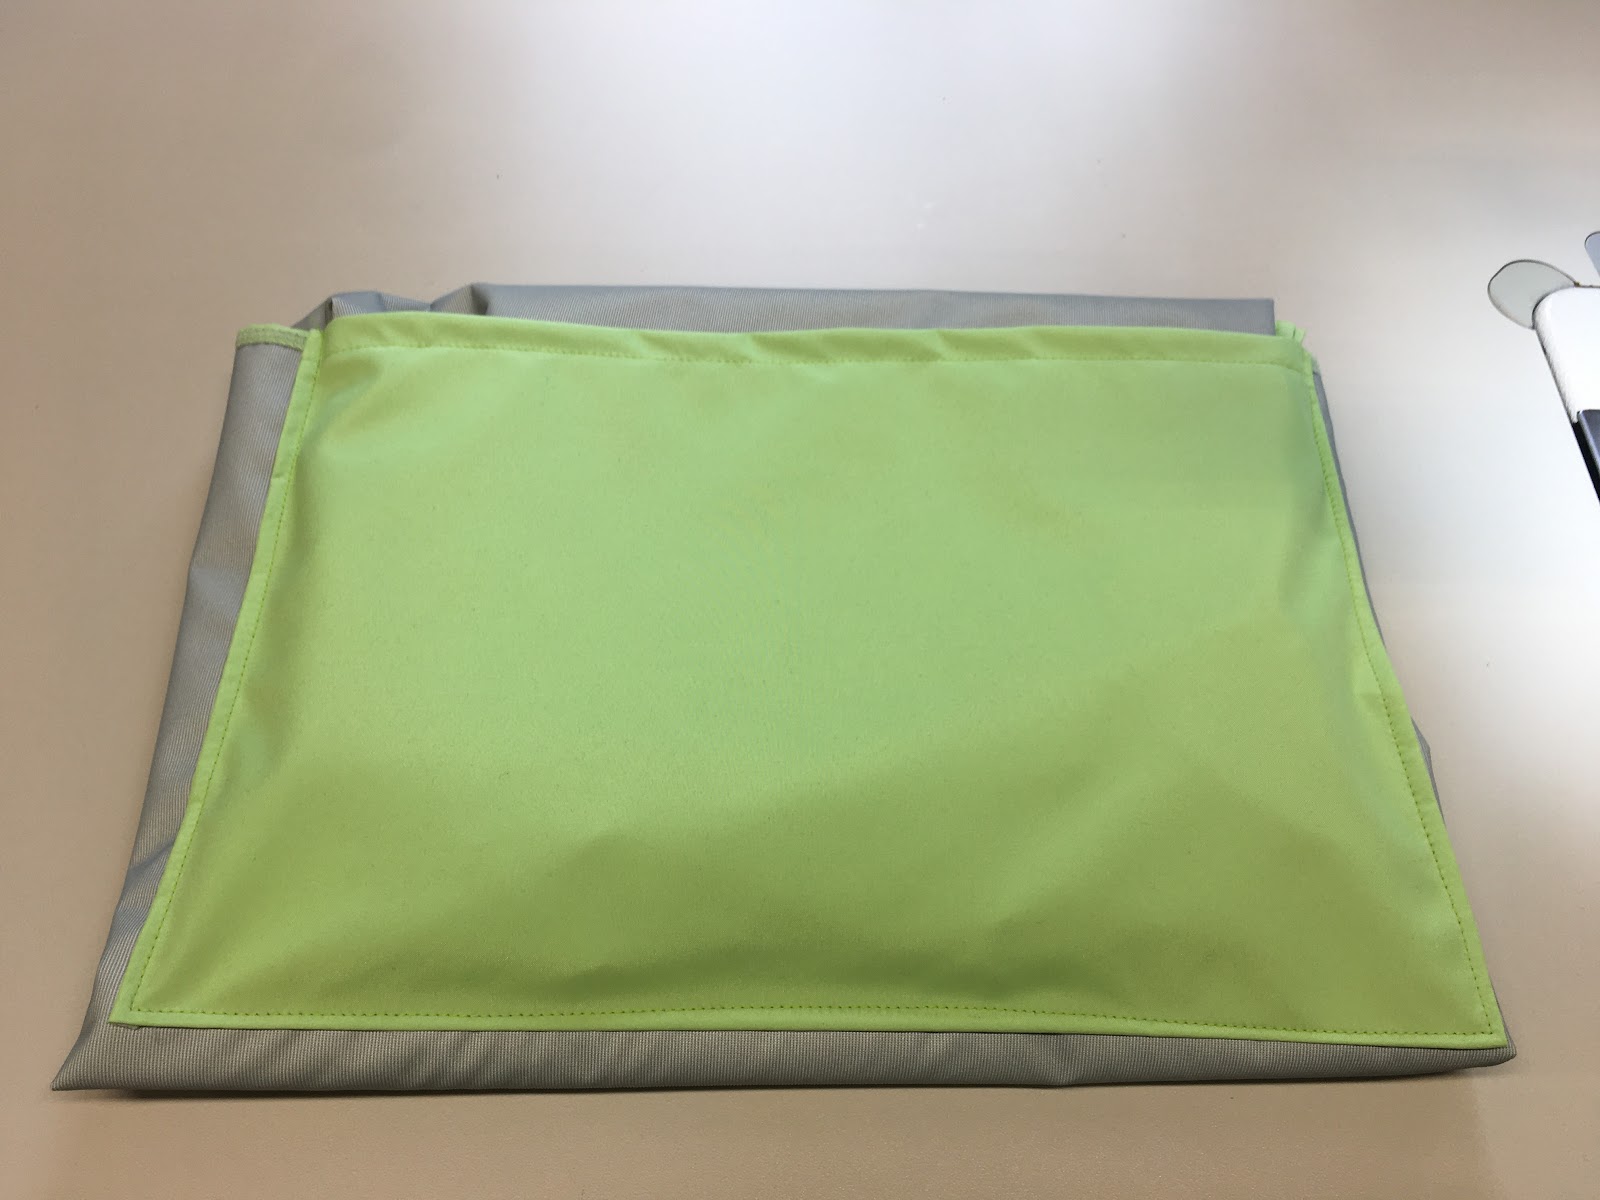
We used Polartec NeoShell #66003x39B34A in Lime Twist. Alternate colors of this style can be found here. Process: I began by cutting the fabric, which was very simple, as they were all rectangles. I rounded out the corners of my poncho for a lighter look. I then overlocked all of my pieces for a clean hem. 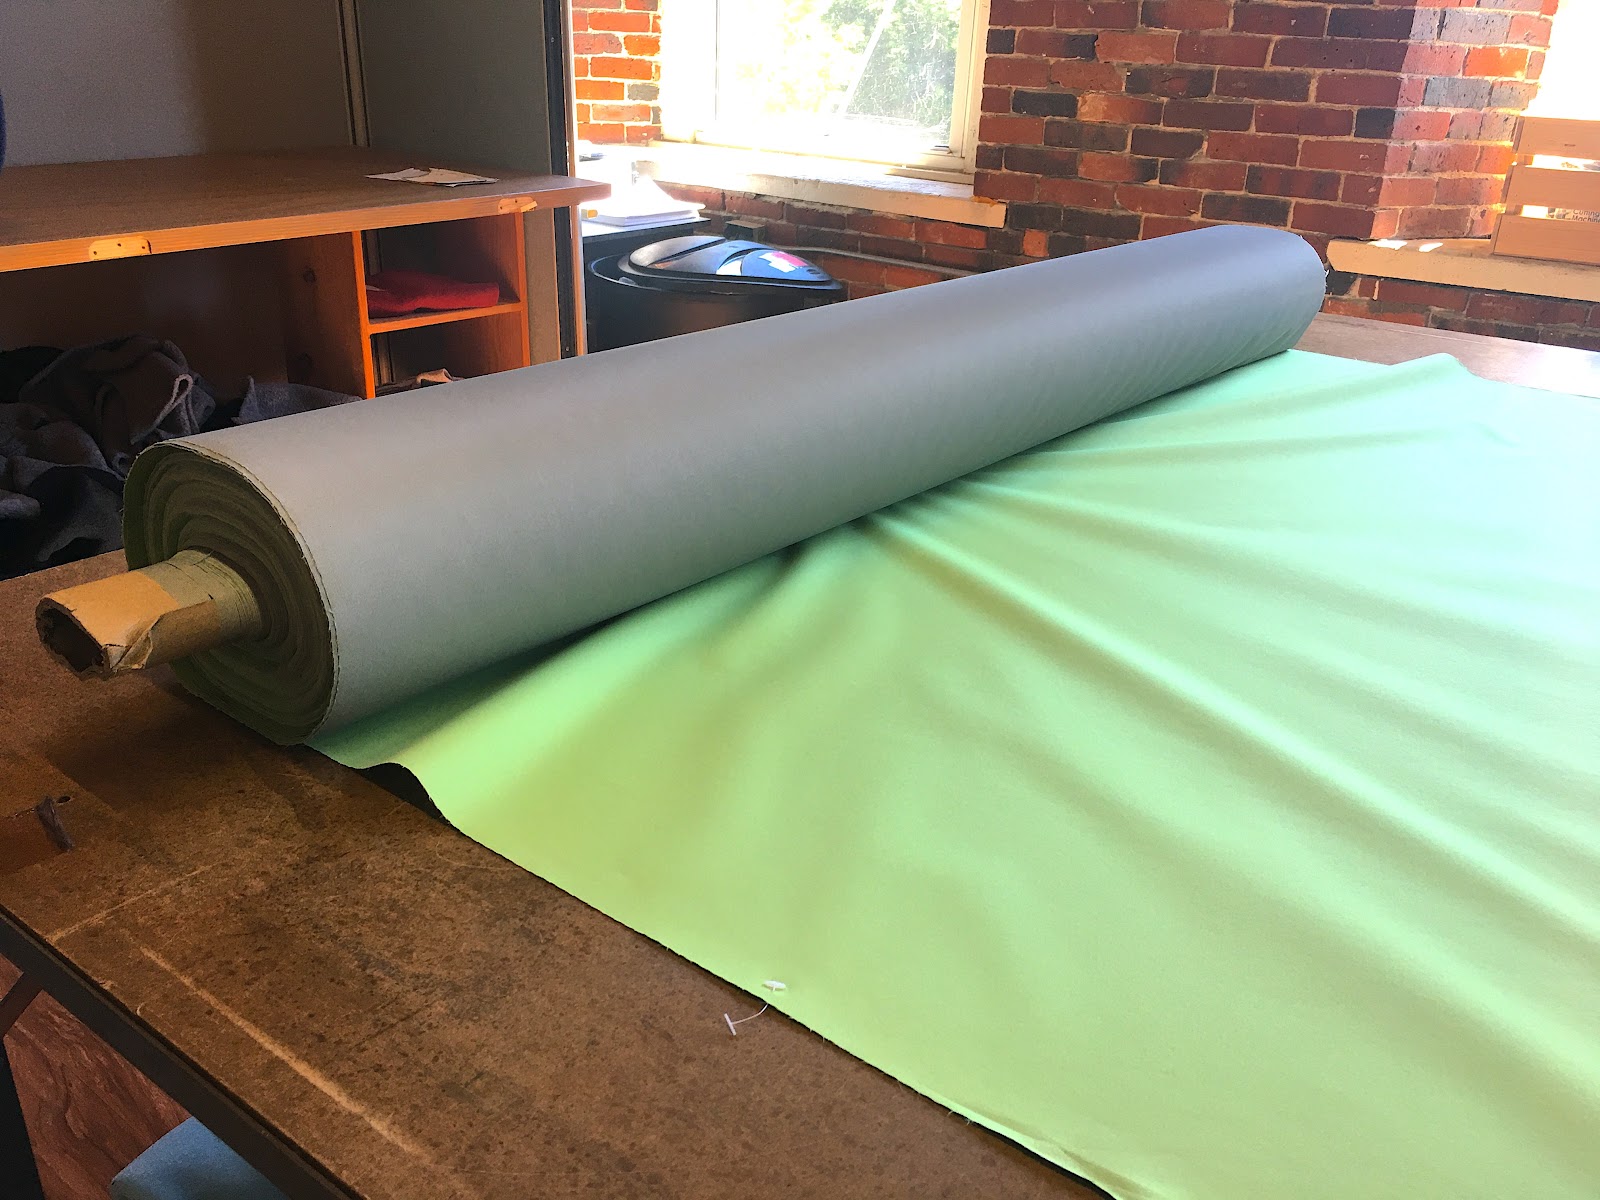 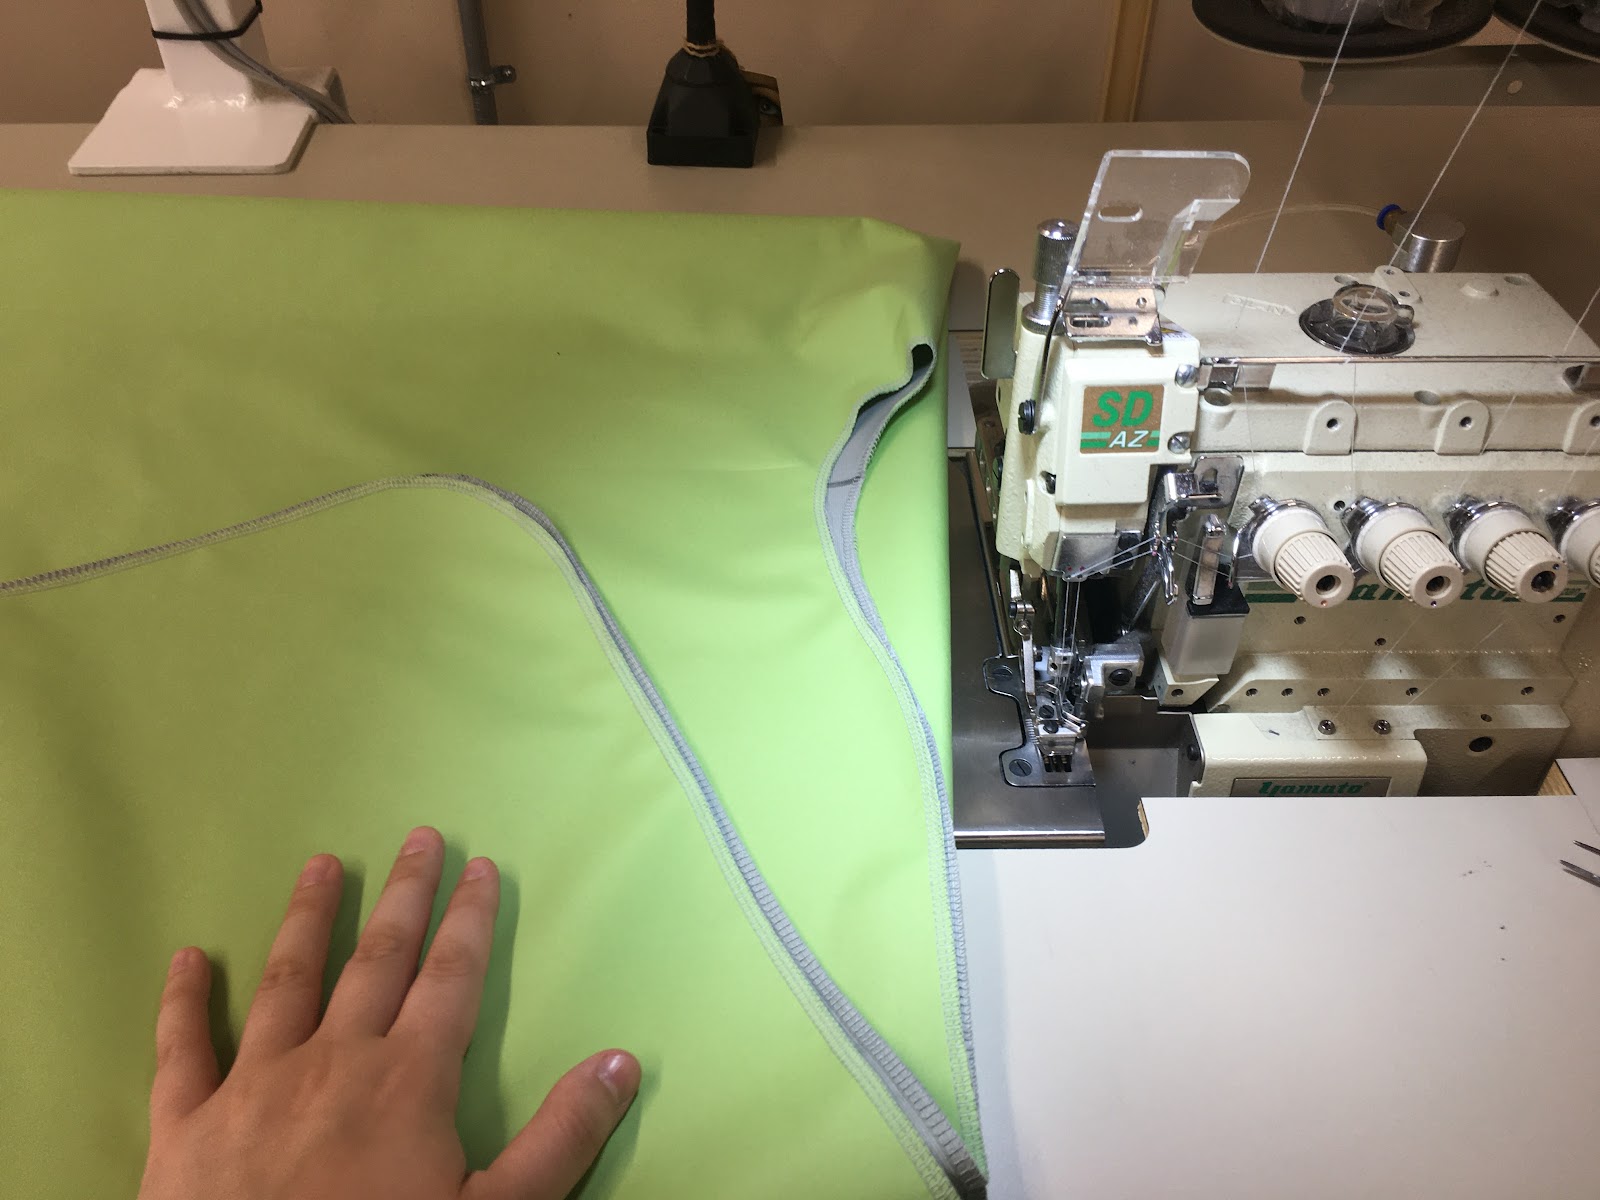 Creating the hood was the moment I found the garment really came together. With just a few simple stitches, the rectangle of fabric transformed into a structured hood. 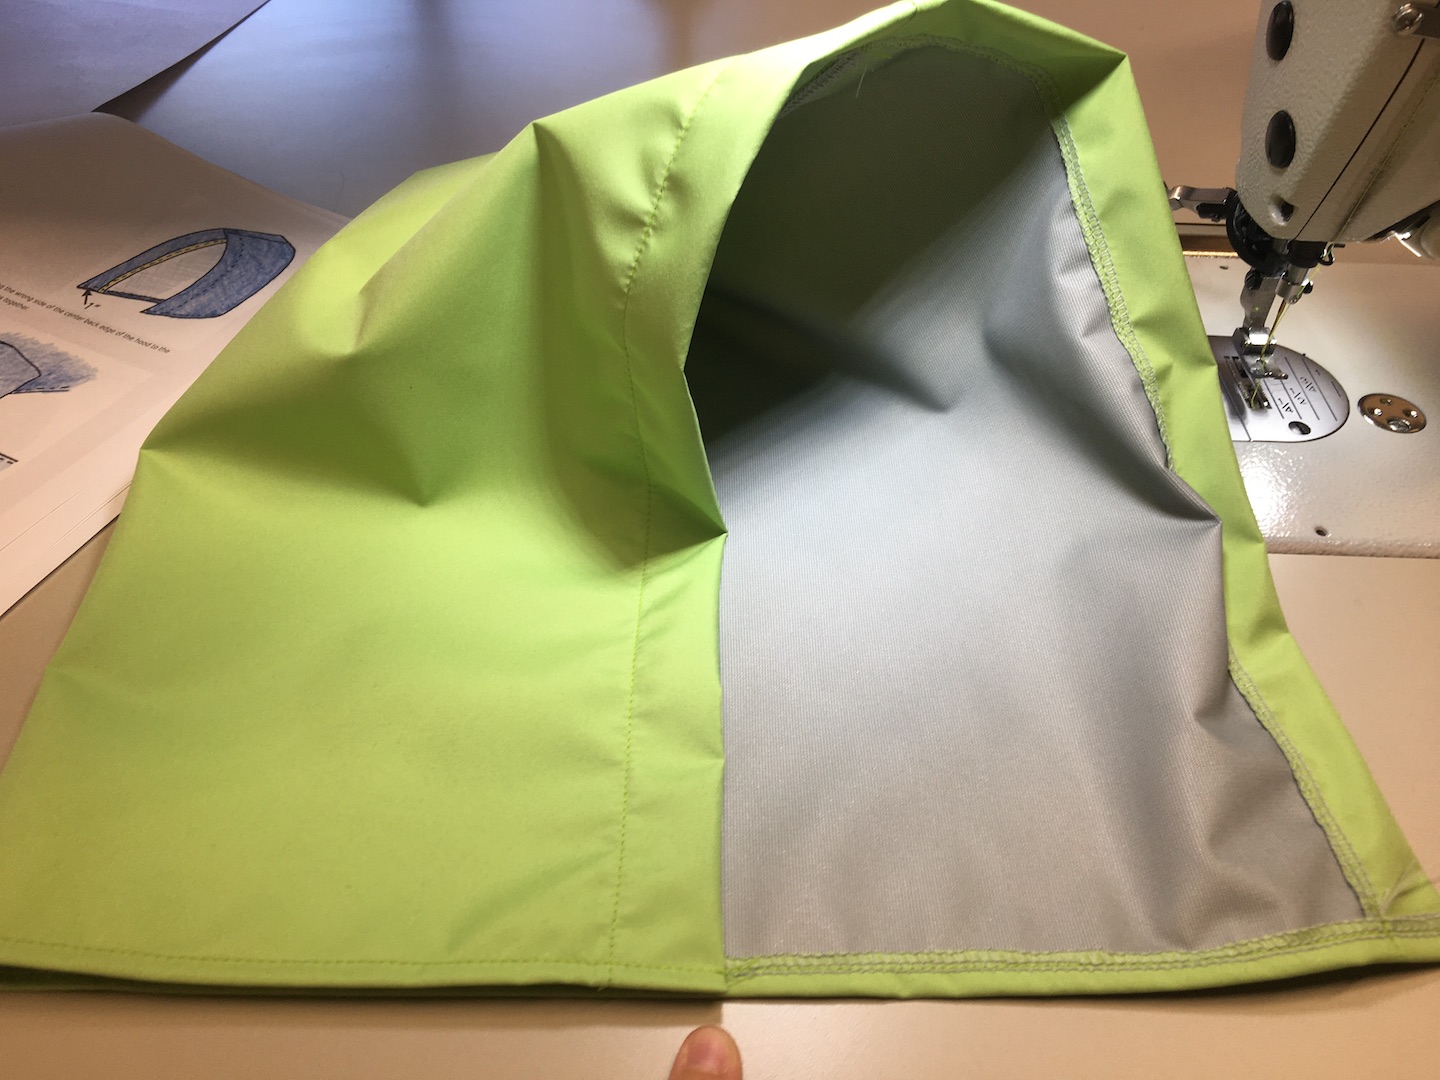 I tested some closure variations until I decided which I liked best. This was a fun way to dictate the style of the poncho. This will help prevent wear and tear on this tension point. Voila! Your new rain poncho is ready for fun in all kinds of weather! 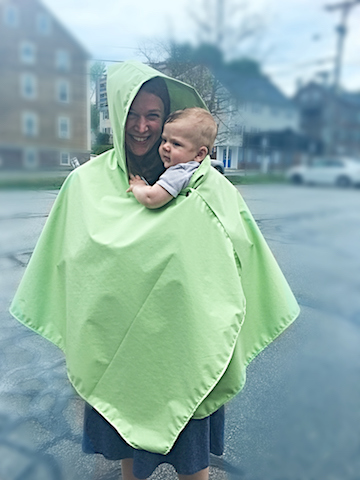
|